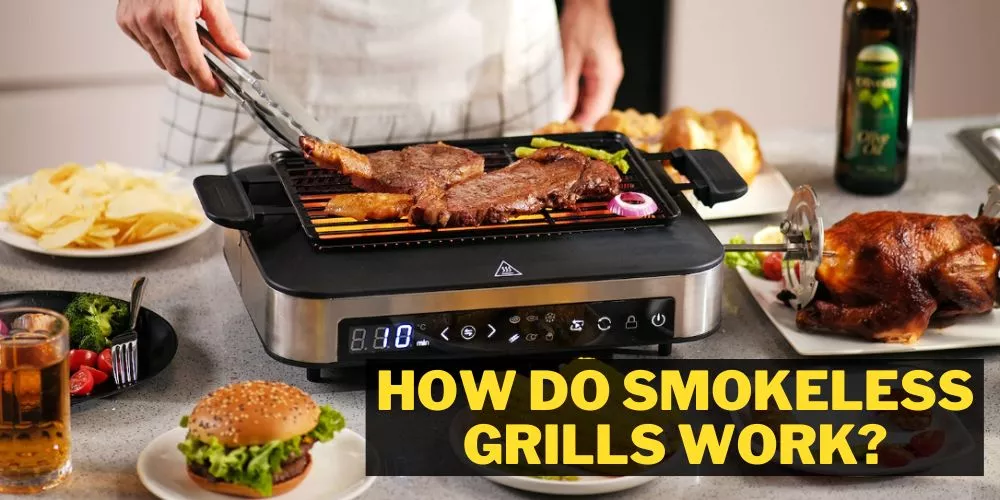
Most gas grills run on liquid propane/butane or natural gas to cook food. Grills meant for indoor grilling are small-sized, and you can place them on a table or kitchen counter. Most indoor grills produce low or no smoke.
Outdoor grills are bigger with their stand and may require a fuel source frequently.
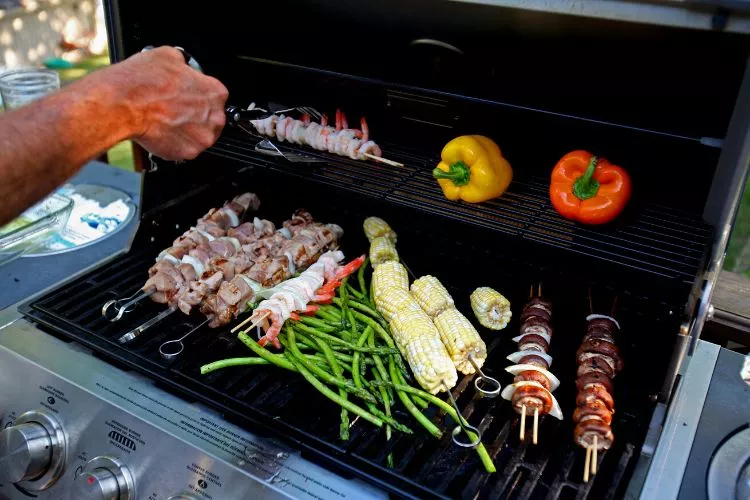
A defective gas grill may be a problem and pose a hazard. The problem may be insufficient gas supply to the burners, resulting in a low flame that doesn’t produce enough heat energy to cook the food. On the other hand, there may develop a leakage in the gas supply pipe, which would be hazardous to your life.
The gas grill may not get hot due to various reasons. First is the less gas supply to the burners, or the fuel supply may be irregular, and lastly, the burners may be clogged, blocking the fuel from burning appropriately.
To help the reader understand gas grills, we have thoroughly researched the topic and presented it here in a simplistic way, which may play as an informative guide.
Why is the Gas Grill Not Getting Hot?
There are several reasons to look for if your gas grill is not getting hot. It may be due to clogged burners, low gas supply, dysfunctional burner knobs, or a damaged regulator.
A broken or corroded seal or high windy weather may affect the grill’s flame, resulting in your gas grill not getting hot. Experts recommended covering the grill during rain to protect it from rusting and damages that may be out of scope for repair.
- A faulty temperature gauge: You may need to check whether the temperature gauge fitted in your grill is working correctly. Chances are, the grill is getting substantially hot, but the temperature reading may not be correct, giving you an impression of the grill not getting hot.
- Gas leaks: Check for your hose or regulator for any gas leaks. It may not supply enough fuel to heat the burners, possibly resulting in the grill not getting hot.
- Malfunctioning burner knobs: The burner knobs may not be working ideally, hampering the fuel supply to the burners and resulting in your grill not getting hot.
- Near-empty propane tank: A near-to-empty propane tank may not supply the required amount of fuel to the grill, resulting in the grill not getting hot.
- Wear out and Corroded burners: Tattered and corroded burners may not burn correctly, unable to get the grill substantially hot.
- The flow-limiting device has been activated: The flow-limiting utility is a safety measure. When activated, it results in an uneven supply of fuel to the grill, thus preventing the grill from getting hot.
- Poor connection with the regulator: The fuel supply is affected by a poorly connected regulator to the grill. It will impact the heat of the grill.
- Obstructions in Burners and Gas line: The grill won’t get heated to the required extent if there are problems with the burners or gas line. Over time, dirt may accumulate in the burners or gas line, resulting in a poor flow of fuel to generate enough heat.
How To Fix the Problem: Gas grill not getting hot
There may be instances when your gas grill is not getting substantially hot. Before you decide to replace the part or entirely a new grill, there are some hacks that you can try on your own and make the grill workable.
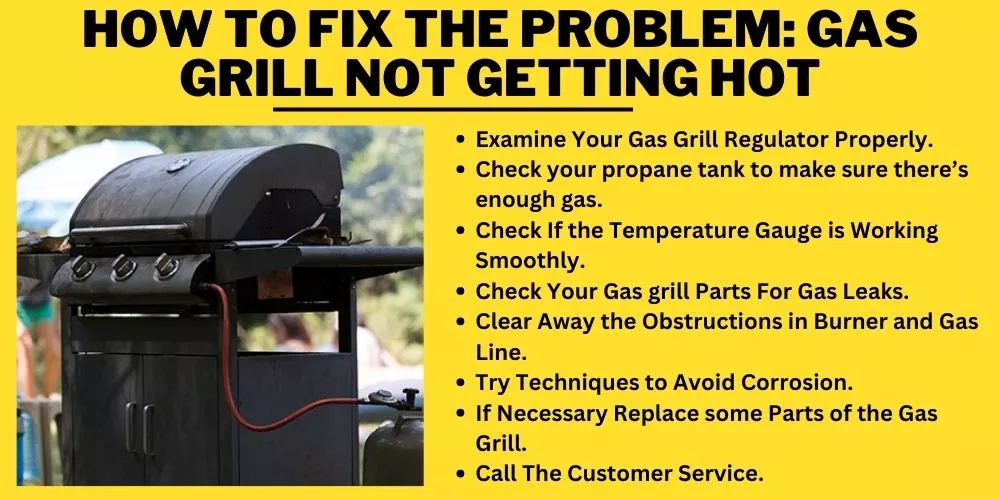
Not having enough heat or temperature on the low side can be solved effortlessly. Before you apply corrective actions to get your grill back into business, understanding the grill mechanism helps you to identify the exact reason for your grill not getting hot.
Examine Your Gas Grill Regulator Properly
You can test your gas grill regulator as per the steps given below.
- Mix dishwashing soap in liquid form and water in equal proportions in a small vessel.
- Apply the solution freely at the regular hose connected to the burner lines and the tank.
- Once you turn the propane tank valve to release the gas supply, air bubbles may generate at the tank connection. If there are bubbles, it means the gas is leaking from there. Tightening the valve till the bubbles disappear indicates that the gas isn’t leaking.
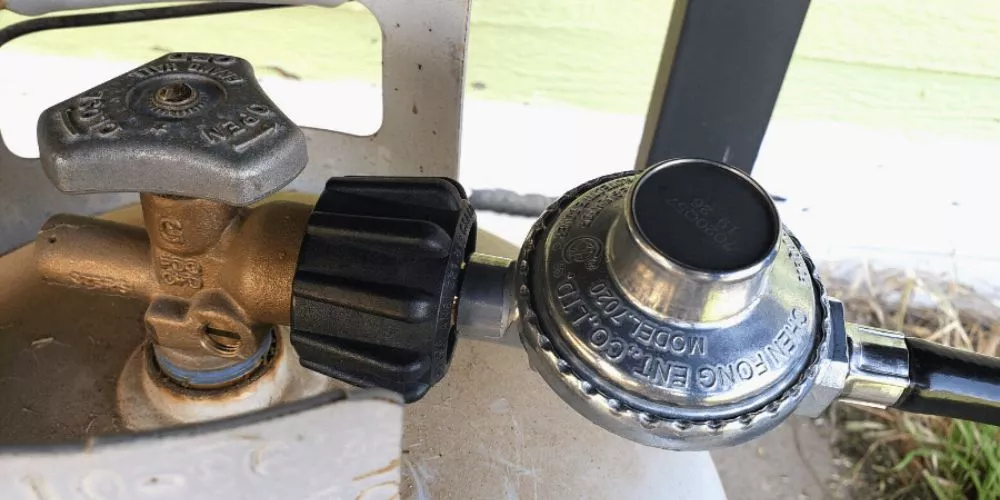
Signs of a faulty gas grill regulator
- Incomplete Combustion: If you notice the flames have changed their color to yellow or orange indicates something is wrong with the regulator. In addition, if you come across a black powdery or flaky substance on the burner and if it emits a popping sound whenever you turn on or turn off the grill also indicates a problematic regulator.
- Gas odor: If you notice propane’s typical odor indicates a leakage in the regulator.
- Submerged Regulator: If your propane regulator has got submerged some day and becomes wet, debris and chemicals accumulate over the spring area of the regulator, leading to corrosion and further problems of uneven fuel supply and inefficient grill performance.
- Aging: Regulators have an expiry date, and it’s imperative to replace it with a new one, following the specifications given by the manufacturer.
Let us understand how to fix a few issues related to the gas grill regulator.
How to adjust the gas grill regulator?
Follow the below-mentioned steps to reset the gas grill regulator.
- Disconnect the gas pipe from the propane tank after opening the grill lid and turning off the gas supply.
- Adjust the control knobs to the highest level. If you have a side burner, adjust that too.
- After one minute, turn off all the control knobs.
- Turn the gas slowly on the tank after reconnecting the regulator to the tank.
- Now light up your grill. Ensure it is giving substantial heat.
- In case of a low flame, you will need to check whether there’s gas leakage.
How to reset gas grill regulator?
Follow the below-given steps to reset your gas grill regulator.
- Turn off the gas supply from the propane tank.
- Now disconnect the hose from the tank.
- Uncover the lid of your grill.
- Adjust the burner valves to the highest level.
- Wait for 2 mins.
- Turn off the burner valves.
- Reconnect the gas pipe to the propane tank.
- Turn on the propane tank slowly.
- With appropriate ignition sequence, fire up the grill.
Check your propane tank to make sure there’s enough gas
There are several ways to check the level of your propane gas in the tank.
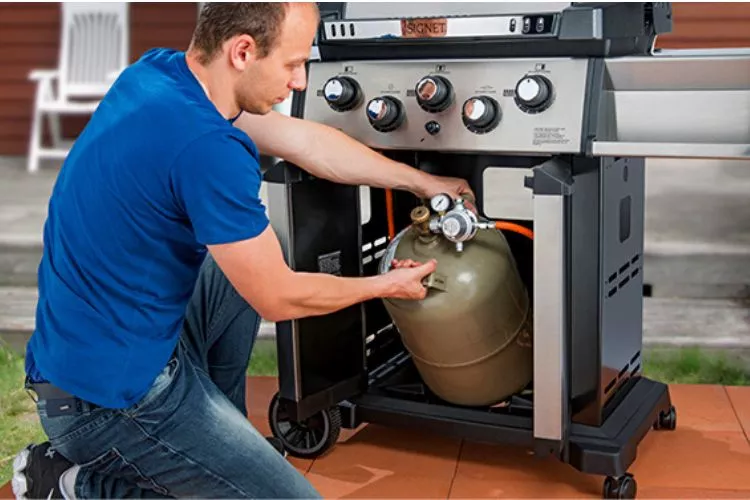
The hot water method
With this method, you will know the approximate amount of propane left in your tank.
- The process is simple and involves pouring a small amount of hot water from a container alongside the exterior surface of your propane tank.
- The next step is moving your hands downside along the tank’s exterior surface while touching it gently.
- You may locate a cool spot indicating the level of propane, and you can measure whether the propane is near-to-empty or half-filled, etc. Propane absorbs heat from the water, thus giving you a rough idea of the propane levels.
Do not expect an accurate measurement with this process, as this process gives you an estimation of the amount of propane left in the tank.
Install a propane gas gauge
You can also use a propane meter to measure the amount of propane remaining in your tank. There are different types of propane gauges that you can buy at pocket-friendly prices.
- Inline pressure gauges.
- Analog propane scales.
- Digital propane scales.
The meter is fitted under the lid of the propane tank and displays the markings between 10 to 80. It’s very straightforward to check your propane levels by glancing at the gauge. Remember not to fill the tank above 80% to mitigate the risks that may arise from changes in volume due to hot weather.
You can also opt for automated propane delivery by installing a propane tank monitor. It involves using intelligent technology where the propane gas supplier gets notified whenever your propane levels are low. He then visits your location to replenish your tank with additional propane.
Check If the Temperature Gauge is Working Smoothly
You can check the smooth working of your gas grill thermometer by two methods. (1) Boiling Water Test and (2) Ice Bath Test
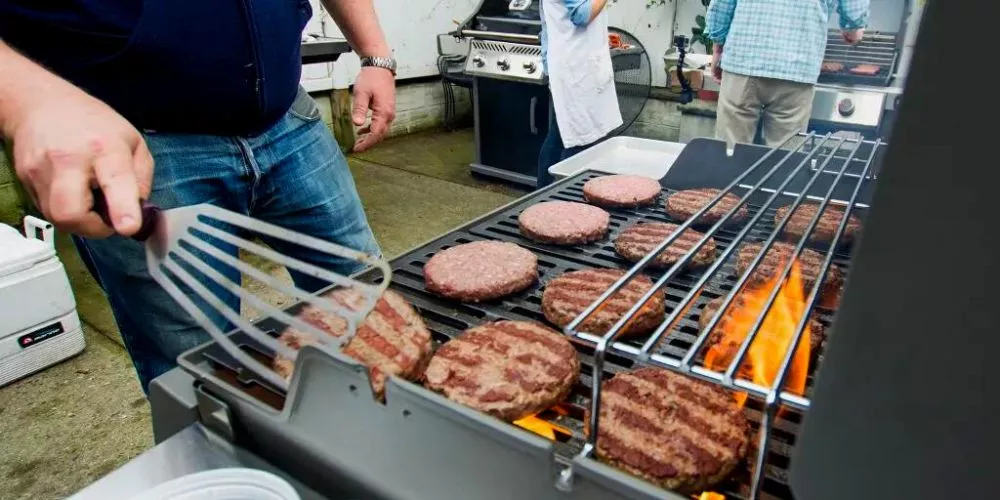
Boiling Water Test
- Use a broad-mouthed vessel and boil water within it to the boiling point.
- Immerse the thermometer up to 2 inches into the boiling water and stir gently. Ensure it does not touch the vessel, as you may get a wrong reading, resulting in an inaccurate result.
- If the readings are correct and comply with the manufacturer’s specifications, you can conclude the thermometer is working perfectly.
Ice Bath Test
- Take a tall glass and fill it with ice cubes from top to bottom. It’s preferable to use crushed ice, as it will leave no spaces in between.
- If you find gaps between the ice cubes, fill them with chilled water.
- Stir the contents for approximately 15 seconds to set the temperature even.
- Insert your thermometer about 2 inches into the glass.
- Use the thermometer to stir the water for around 15 seconds.
- View the readings. If they match the specifications, your temperature gauge is working correctly.
Do not let the thermometer touch the ice cubes or the sides or bottom of the glass. It will give you inaccurate readings.
Check Your Gas grill Parts For Gas Leaks
Here are a few ways to check your gas grill parts in case of a gas leak.
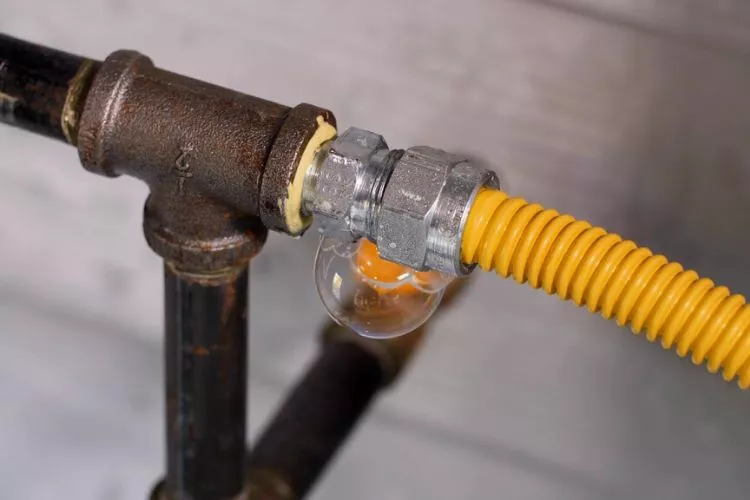
- Check all hoses are connected tightly with no sharp bends or curls/coils. In addition, also inspect whether they are indicating any kind of brittleness that includes cracking or abrasions. Check for tiny holes or rips/incisions.
- The exterior of the gas cylinder may rust or corrode. Check the outer surface of your gas cylinder for any dent, bump, pricks, holes or punctures, or any external damage that is noticeable to the naked eye. It’s advisable to ask your gas supplier to inspect such cylinders before using them.
- Apply a mixture prepared by mixing equal proportions of liquid detergent and water to the closed valve at the regulator’s end, attached to the tank. Use a soft brush or spray bottle to apply the soapy solution. Emerging bubbles from that area after releasing the gas indicate a gas leak. You need to repeatedly tighten the connection till bubbles stop coming from that area.
In the case of the above observations, it’s wise to turn off the gas and be taken it to a service station for repairs before you put it to use.
Clear Away the Obstructions in Burner and Gas Line
There are several reasons for a gas line and burners to accumulate debris/dust over time. The vent holes of the regulator can be clogged, which results in uneven or low fuel supply. Similarly, the venturi tubes allow insects/spiders to nest, obstructing the flow.
The burners may get a coat of burnt grease, causing them to clog and corrode over a while. Let’s try to find out probable solutions to the above problems.
Regular and Hose
If you tap or blow into the vent, you can unclog the regulator. In addition, a damaged O-ring or hose may be the reason for fuel leakage. As mentioned above, you can check by applying the soapy mixture and tightening the connection till the bubbles stop. But if they do not, replace the damaged part immediately.
Venture Tubes
These are the ones that connect the burner with the control value and mix air with fuel to generate the flame. You can prevent insects and spiders by wrapping these tubes with an aluminum screen. It will keep the insects out without blocking the airflow.
A misaligned venture tube may also be a hindrance to regular fuel flow. Proper alignment of these tubes will regulate the flow.
Burners
Regular inspection and cleaning of your burners will avoid the problem of rusting. In case of a highly burnt burner, replace it as early as possible. A high-quality metal burner will last comparatively longer.
Try Techniques to Avoid Corrosion
Here are a few techniques to avoid corrosion on your grill.
- Don’t pour liquids directly: Pouring excess sauce while cooking on your grill may eventually clog or rust them.
- Maintain cleanliness: Clean your grill after every cooking session. Remove all the food particles stuck to the grill to avoid eventual corrosion.
- In addition, remove the ashes or charcoal remnants and clean the inside with soapy water.
Also, maintain the cleanliness of metallic components like burners, O-rings, grates, etc. frequently.
- In addition, remove the ashes or charcoal remnants and clean the inside with soapy water.
- Oil the grill: Apply a thin layer of vegetable oil after cleaning. It won’t allow food to stick to them for some days. Applying this layer will also repel moisture which is the main reason for corrosion. Do not use an aerosol can as it is known to explode in the vicinity of flames.
- Move the grill indoors: During rains and snowfall, you may move the grill indoors, to prevent it from catching moisture or getting wet, which may eventually rust your appliance.
If Necessary Replace some Parts of the Gas Grill
There may be instances when one or a few parts of your gas grill are out of scope for repair. In such a situation, you should think of replacing the damaged parts with new parts.
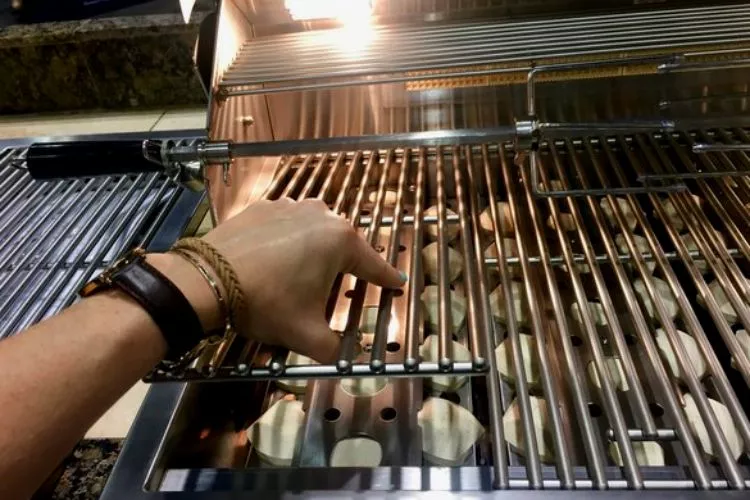
Some parts that may be replaceable are:
- Regulator.
- Burners.
- Propane Tank.
Replacing the regulator
- Turn off the gas supply: First, disconnect the gas grill regulator from the propane tank. Before that stop the gas supply by turning the knob counter-clockwise direction.
- Remove the gas grill regulator: Take off the cotter pin from the primary cooking stand to remove the hose. Pressing the ring beneath the regulator in an upward direction will pull out the regulator from the tank.
- Attach the new regulator: Reversing the first 2 steps, attach the new regulator to your tank.
Replacing the burner
- Find the grill model number: The first step is to identify the grill model number, which you can find on the company website or the grill.
- Disconnect the grill: Now disconnect the grill from the fuel tank. Then take out the cooking grates and heat plates.
- Remove the burner: The burner will now be visible. If it is fitted with cotter pins, you may have to use screws or some kind of fastener. Remove the pins and lift the carryover tube from the burner. Now remove the burner attached to the electrode with the help of a clamp with a flathead screwdriver. Ensure you don’t damage the ceramic insulator surrounding the electrode, or else it may short out.
- Replace the new burner: Reverse all the steps given above and replace the new burner.
Replacing the propane tank
- Shut off all burner and gas cylinder valves.
- Disconnect the regulator hose from the propane tank. Use pliers if it’s too hard to turn with bare hands.
- Ease out the clamp to free the propane tank. Lift the empty tank and take it out from the grill. Ensure the tank, hose and regulator aren’t damaged to any extent.
- Replace the new cylinder in the grill in the same place, and reattach and retighten the clamp by reversing the above-mentioned steps.
Call The Customer Service
Sometimes DIY methods are too tedious and overwhelming, so it’s better to call customer service and ask for professional help.
I hope now you have a clear idea about why is the gas grill not getting hot, if you have any question feel free to ask in the comment box.
How does Your Grill Work?
Gas grills are cooking appliances that run on propane/butane or natural gas. The indoor version is small and compact, while the outdoors are large with wheels at the bottom, enabling them to be portable.
The metal burners underneath the cooking area emit flames, passing the heat to the food. Appliances using natural gas as fuel draw fuel from household/indoor gas supply. Propane-powered grills get the fuel supply via a hose pipe or regulator connected to the moveable tanks.
Safety Measures to Consider While testing Gas Grills
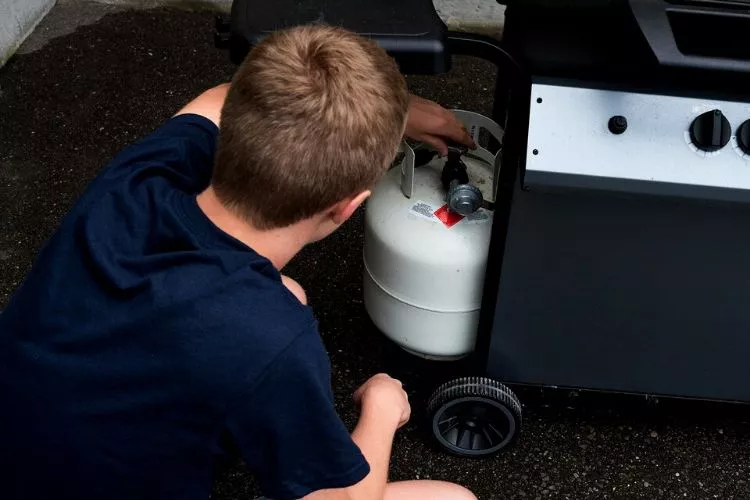
- Don’t smoke when you notice there’s gas leakage.
- Disconnect the fuel supply whenever you sense a gas leak.
- Turn off all the control knobs whenever you want to test any part of your grill.
- Do not place aerosol cans near your grill’s flames as they may explode.
- Check for regulator, venturi tube, and burners frequently to keep the grill running efficiently for years.
- Replace worn-out parts and other parts before their date of expiry.
You May Also Find Useful: How To Remove Rust From A Blackstone Griddle | How to Store Grilling Tools in 10 Easy Ways
Why Is The Gas Grill Not Getting Hot: Frequently Asked Questions (FAQs)
How do I reset the regulator on my gas grill?
Disconnect the regulator from the grill after cutting off the gas supply. Then try to clean the regulator by shaking it upside down to remove any dirt/dust/debris or trapped air. Now turn off the regulator knob and turn it on again. Reconnect it to the grill and wait for some time to allow fuel to free uniformly till the burner.
How do you clean a clogged propane regulator?
Mix equal proportions of soap and water. Brush the hose and all connections, such as the regulator connecting to the tank and hose and the hose connecting to the grill.
Conclusion
If you are asking why is the gas grill not getting hot? A gas grill may not become hot for several reasons. It may be a faulty regulator or hose, clogged burners, near-to-empty propane tank, misaligned venturi tubes, etc.
You can try to resolve these issues by working on your own, provided you do with utmost care. There are a few preventive methods to avoid rusting of your grill or grill parts, which help to enhance the life of your appliance.

